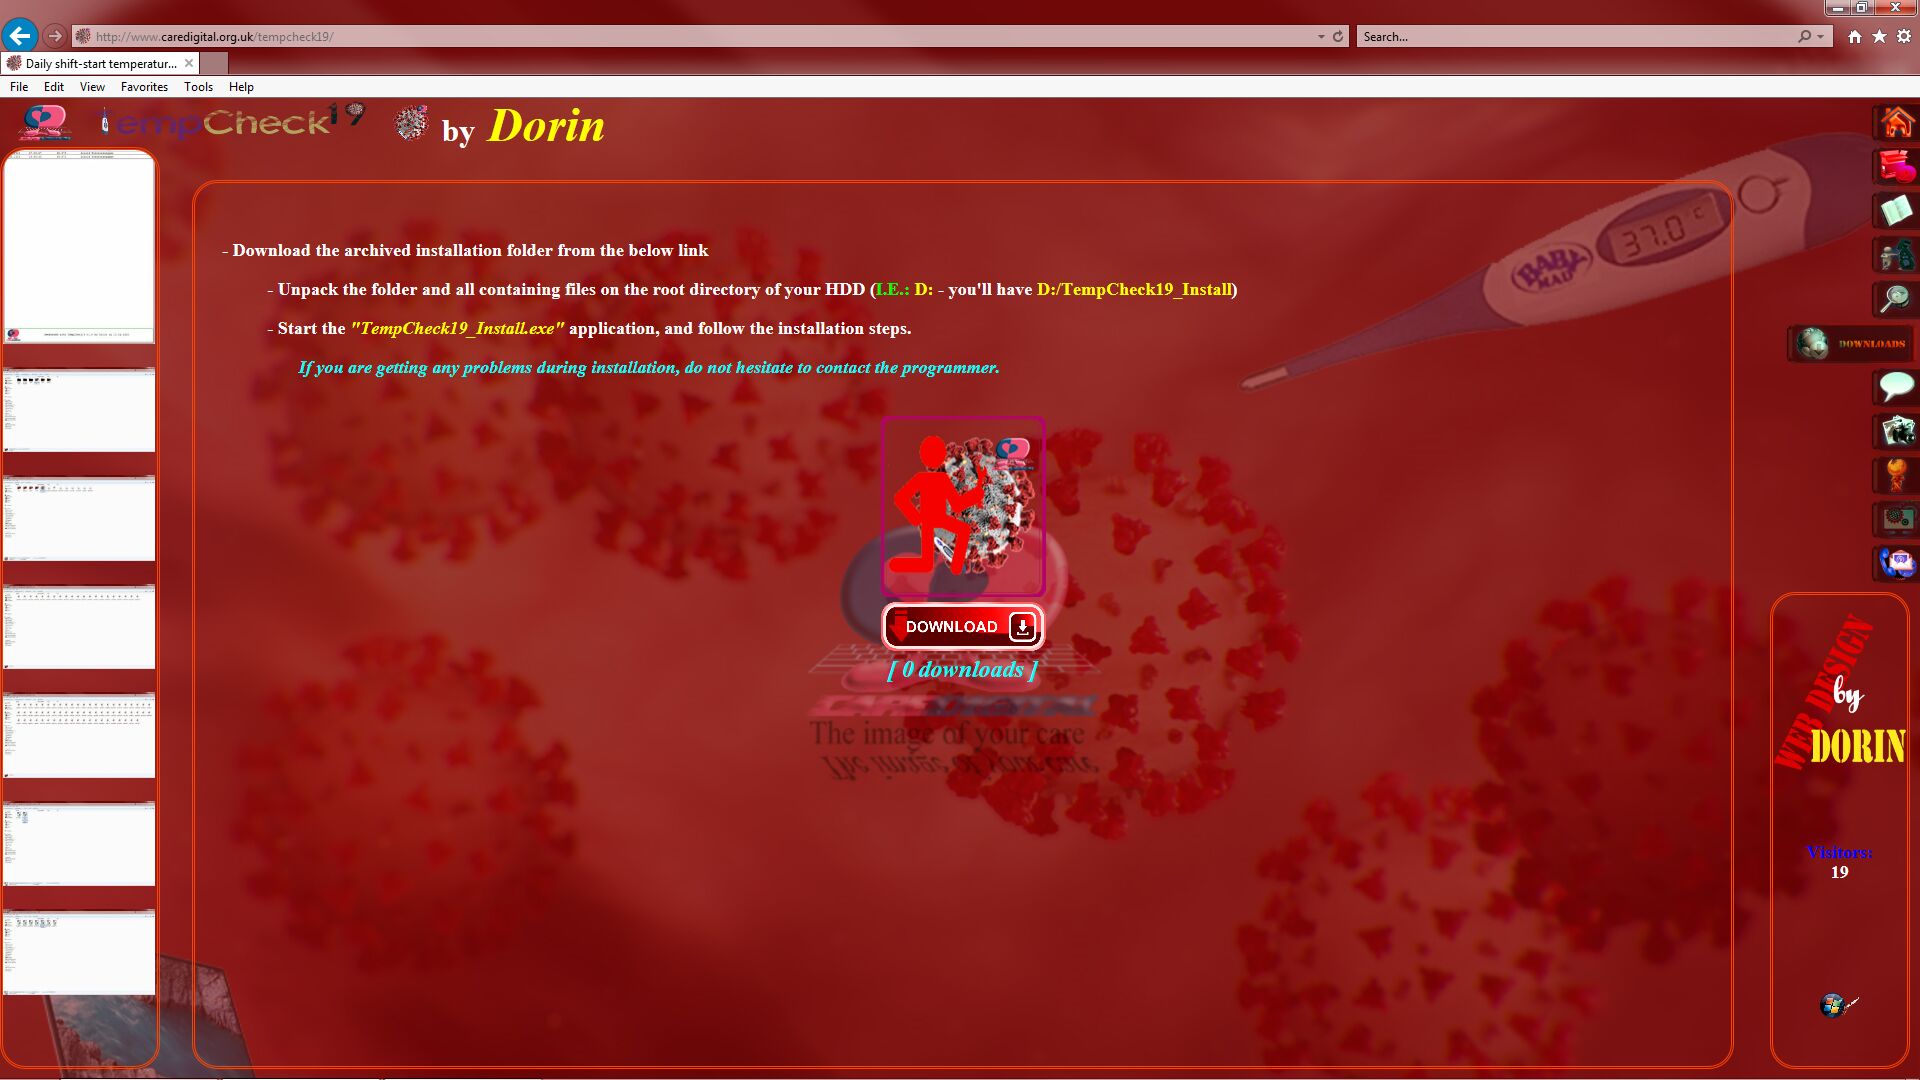
1. Download the archived installation folder from the "downloads" section of this page (Figure 1) and open the downloaded archive (Figure 2)
Figure 1
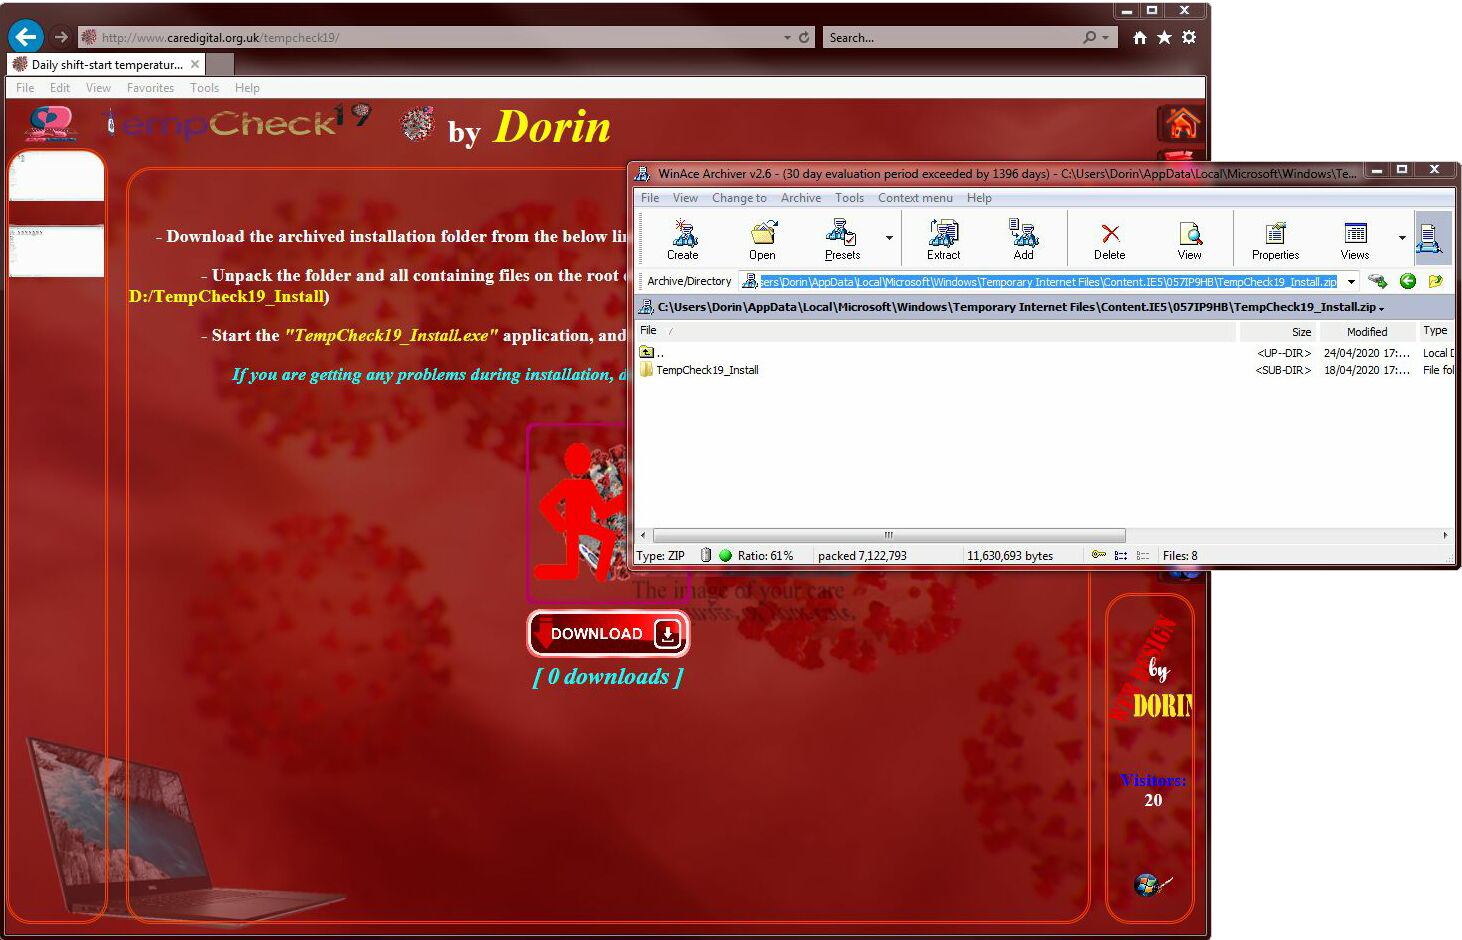
Figure 2
2. Unpack the folder and all containing files on the root directory of your HDD (I.E.: D: - you'll have D:/TempCheck19_Install) (Figure 3)
Note: It's not really necessary for the installation folder to be in the root directory ! Just make sure there are no spaces in the containing folder(s)
(I.E.: C:/Program Files/TempCheck19_Install - It will generate an error, while C:/ProgramFiles/TempCheck19_Install - accepted path)
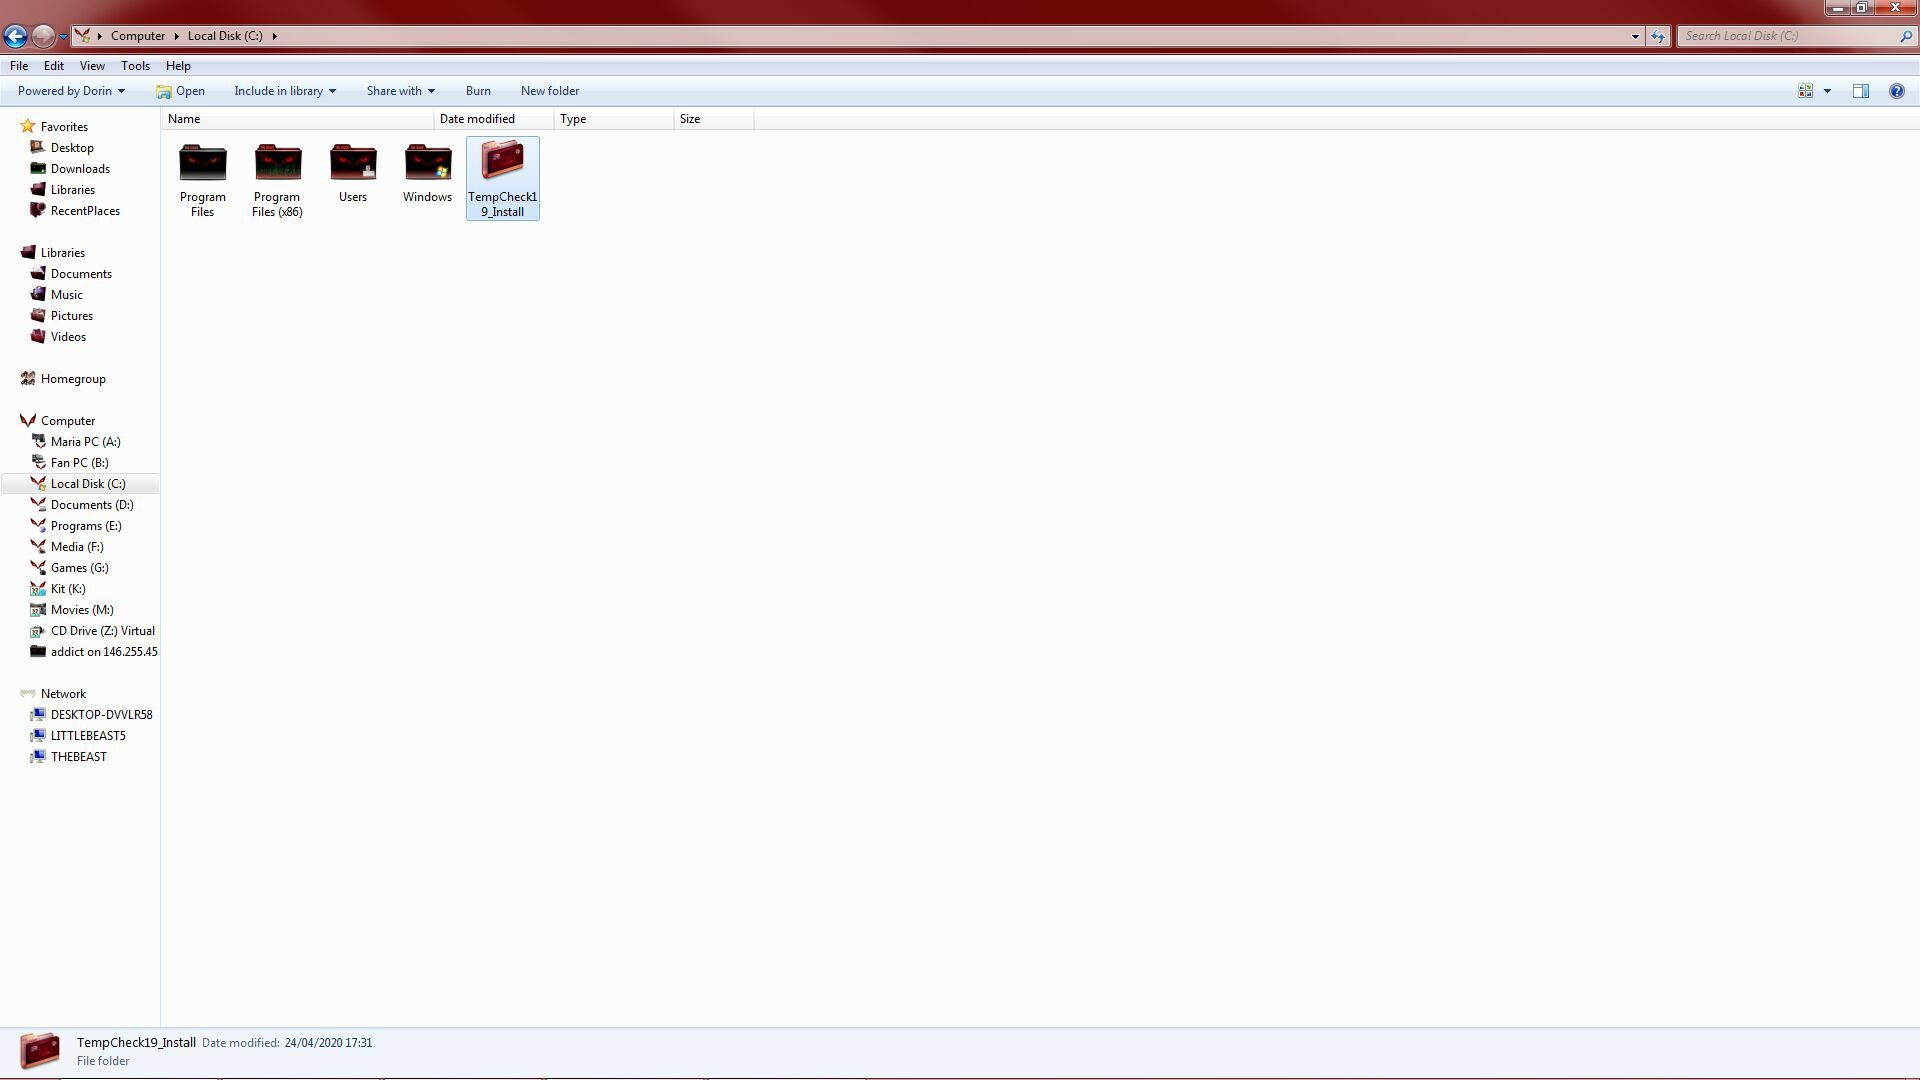
Figure 3
3. Start the "TempCheck19_Install.exe" application (Figure 4), and follow the installation steps.
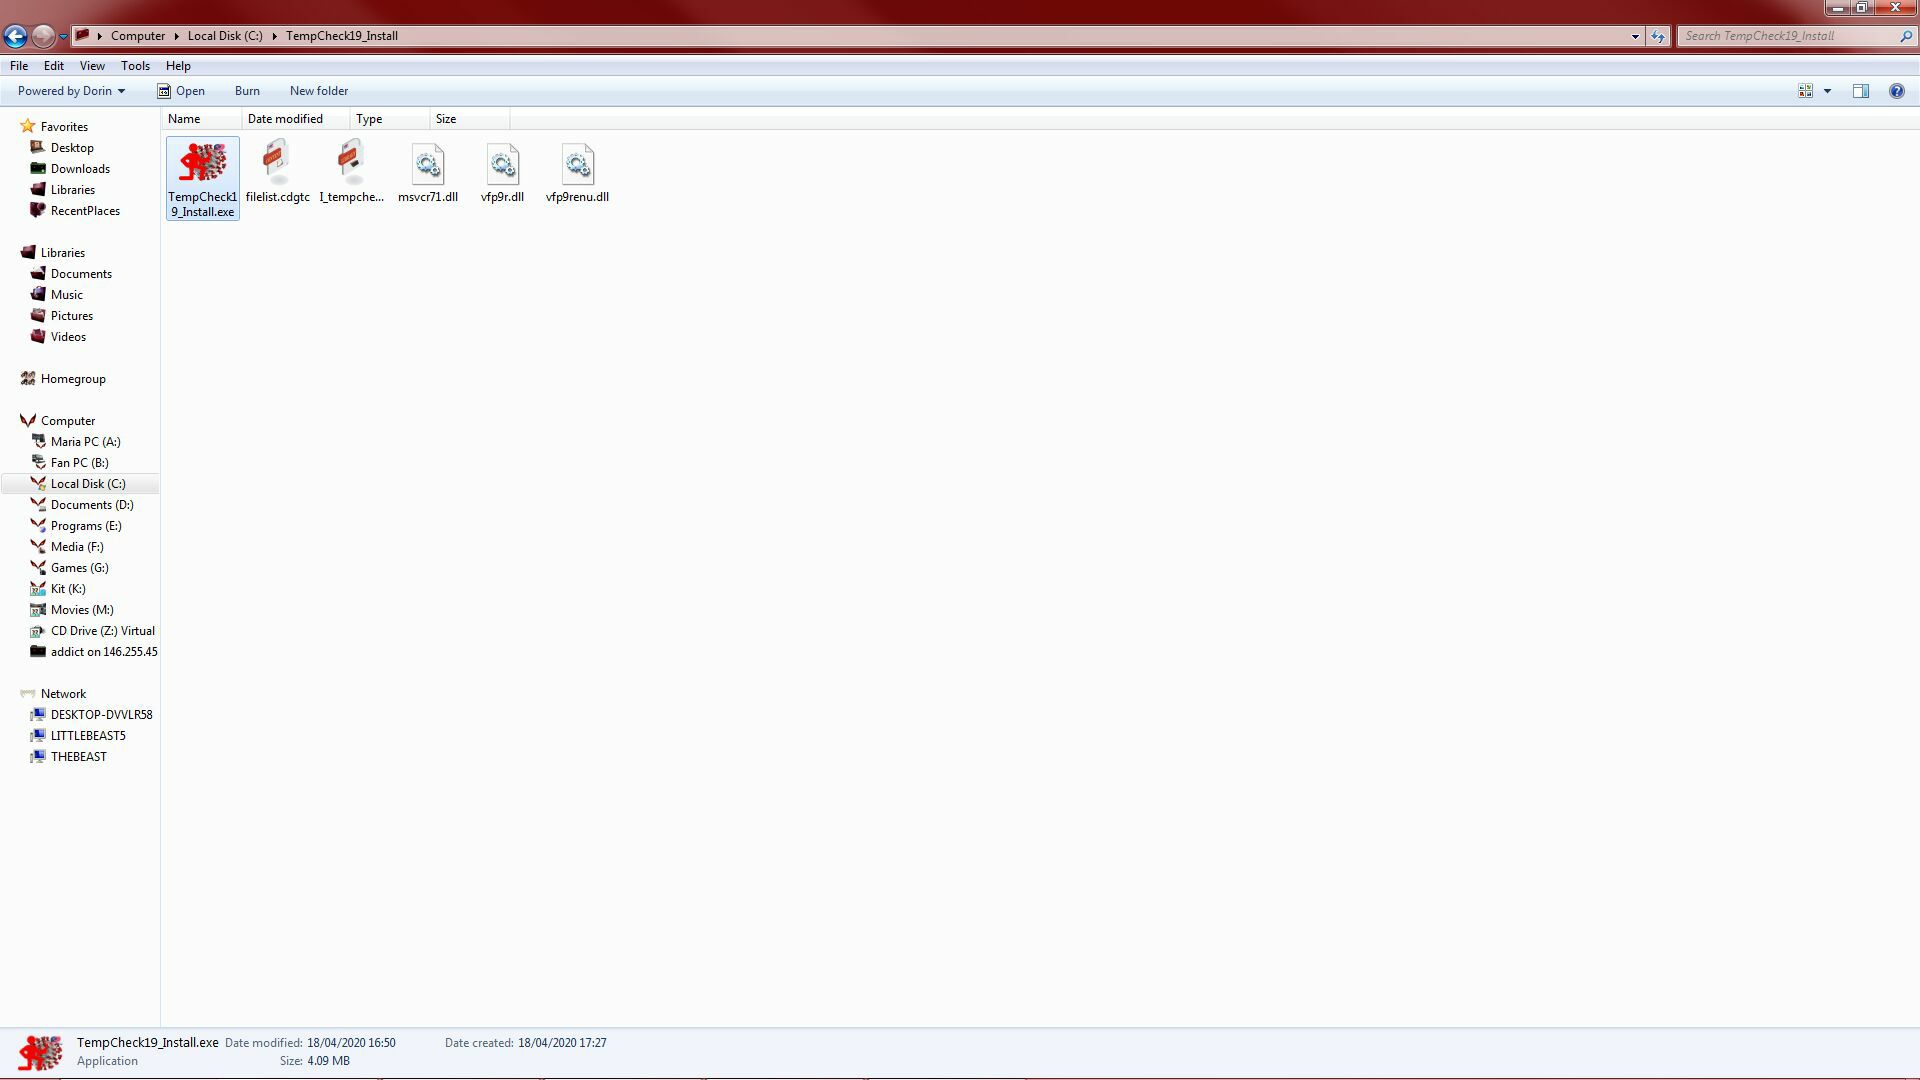
Figure 4
3.1. When starting the installation procedure (Figure 5), the kit will test your internet connection, and then you will be asked to introduce the company name and the location/venue you will use the application for (Figure 6).
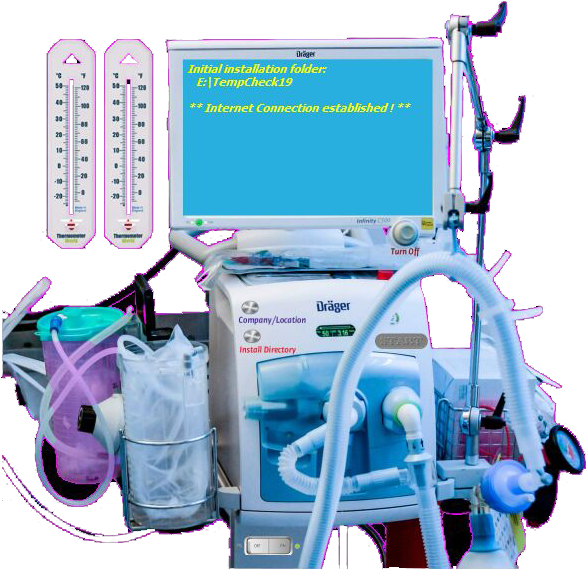
Figure 5
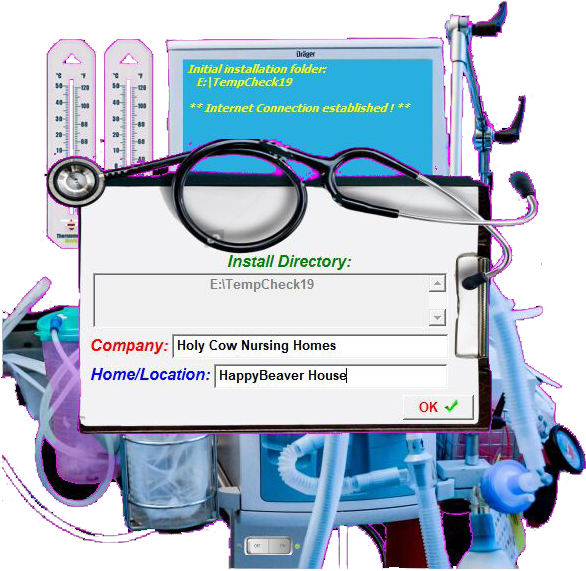
Figure 6
You can modify the company name and/or the location at any time before starting the installation process by clicking the "Company/Location" button (Figure 5).
The default installation path is the root directory of the HDD containing the installation kit; It can be changed by clicking the "Install Directory" button (Figure 5), and then selecting the desired location (Figure 7).
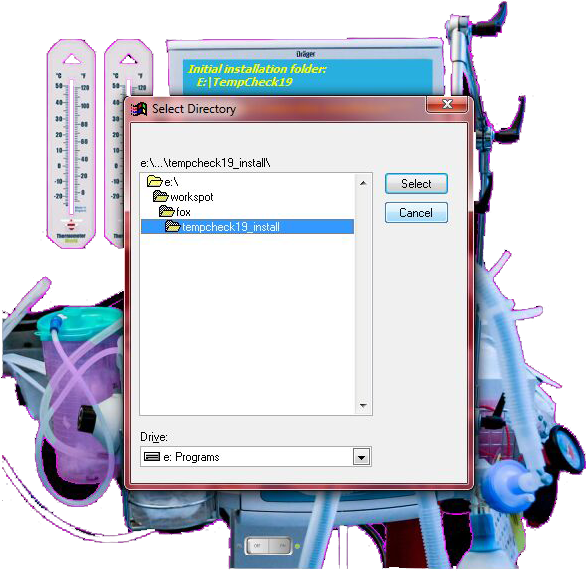
Figure 7
When all the necessary information is collected, the "Start" button will become available (Figure 5), allowing the start of the installation procedure (Figure 8).
3.2. When you are happy with the settings, you can start the installation procedure by clicking the "Start" button (Figure 5); wait for the kit to make the online structure, the necessary folders structure, to download the needed files and to finish the installation.
You can follow the installation progress through the two percentage thermometers displayed on the screen (Figure 8).
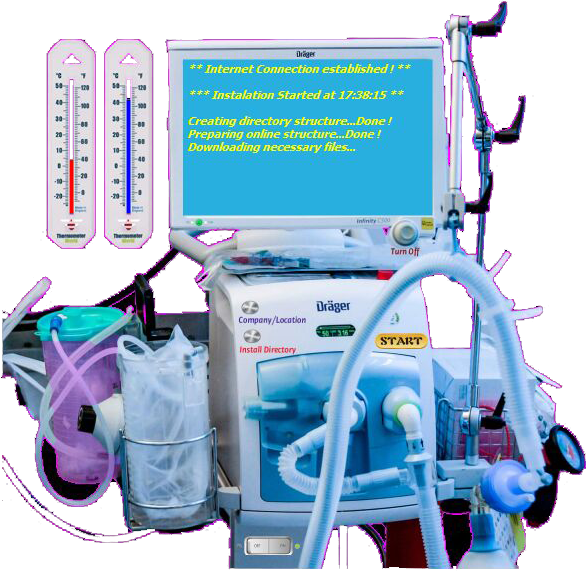
Figure 8
3.3. When the installation is completed, you will be asked to select optional features to be installed/made available (Figure 9); Select the desired ones by ticking the corresponding box(es).
You can opt for the importing of the usual employee positions - this applies mostly to Care and Nursing Homes, and by selecting this option, the position database will be populated with some of the generic position types.
By selecting to place a shortcut on your desktop, you will allow a shortcut to "TempCheck19" to be created and placed on your Desktop.
Ticking the "Start at Windows startup" box will make "TempCheck19" to automatically start whenever the computer is booted/rebooted.
If you chose to install the "Microsoft MXL Core Services (MXL v4.0)", the installation kit for this service will be launched; If you do not have "Microsoft Word" or the "Microsoft MXL Core Services" already installed on your computer, it is recommended NOT to skip this step, as the "Microsoft MXL Core Services" are needed in generating the reports.

Figure 9
If you are having any problems during installation, do not hesitate to contact the programmer.